Setting Up a Campaign
Last updated Aug 10, 2026
Creating a Campaign with the Wizard
Dungeon Manager features an interactive multi-step Campaign Creation Wizard to get your adventure running in minutes:
- Click New Campaign from your dashboard or campaign list.
- Step 1: Choose a Path — Start from scratch or pick from 40+ pre-built Campaign Templates (Forgotten Realms, Greyhawk, Ravenloft, Eberron, etc.).
- Step 2: Essentials — Enter your campaign title, synopsis, setting, custom world name, tone, and visibility (Private, Unlisted, or Public).
- Step 3: Schedule — Set your default playing day, time, frequency (weekly, biweekly, monthly), and timezone.
- Step 4: Campaign Art — Upload a cover image (auto-saved and optimized to WebP) or select a default theme banner.
- Step 5: Confirmation — Review your details and click Create Campaign. All template entities (arcs, NPCs, locations, quests) are created automatically.
Inviting Players & Request-to-Join
Once your campaign is created:
- Shareable Join Link — Copy the join URL from the Players section to invite friends directly.
- Request to Join — If your campaign is set to Public, players browsing Campaign Discovery can click Request to Join to submit an application for your approval.
- Invite Previews — Shared links open a clean preview page showing your campaign's premise, house rules, and dual CTAs to log in or register.
See Inviting Players for detailed instructions.
Assigning Characters & Co-DM Roles
After a player joins:
- Character Assignment — Players assign a character sheet to the campaign, auto-populating attendance, the combat tracker, party loot logs, and analytics.
- Co-DM Permissions — Promote trusted players to Co-DM in the Players panel so they can manage sessions, encounters, NPCs, and run combat alongside you.
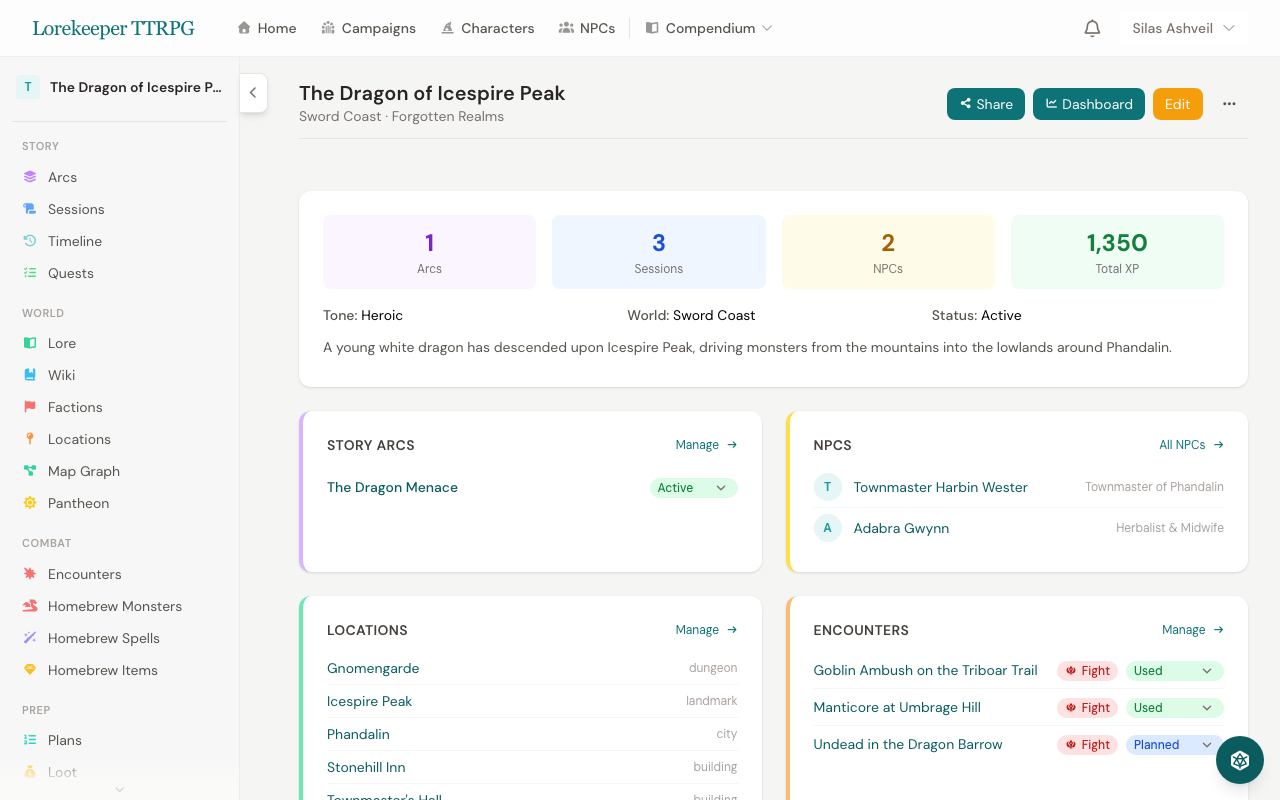 The campaign hub — everything for your campaign in one place.
Was this article helpful?
Thanks for the feedback!