Session Plans
Last updated Apr 5, 2026
Creating a Session Plan
- Go to your campaign → Session Plans
- Click New Session Plan
- Give it a Title, optional Goals, Notes, and Loot Notes
- Optionally link it to a specific Session
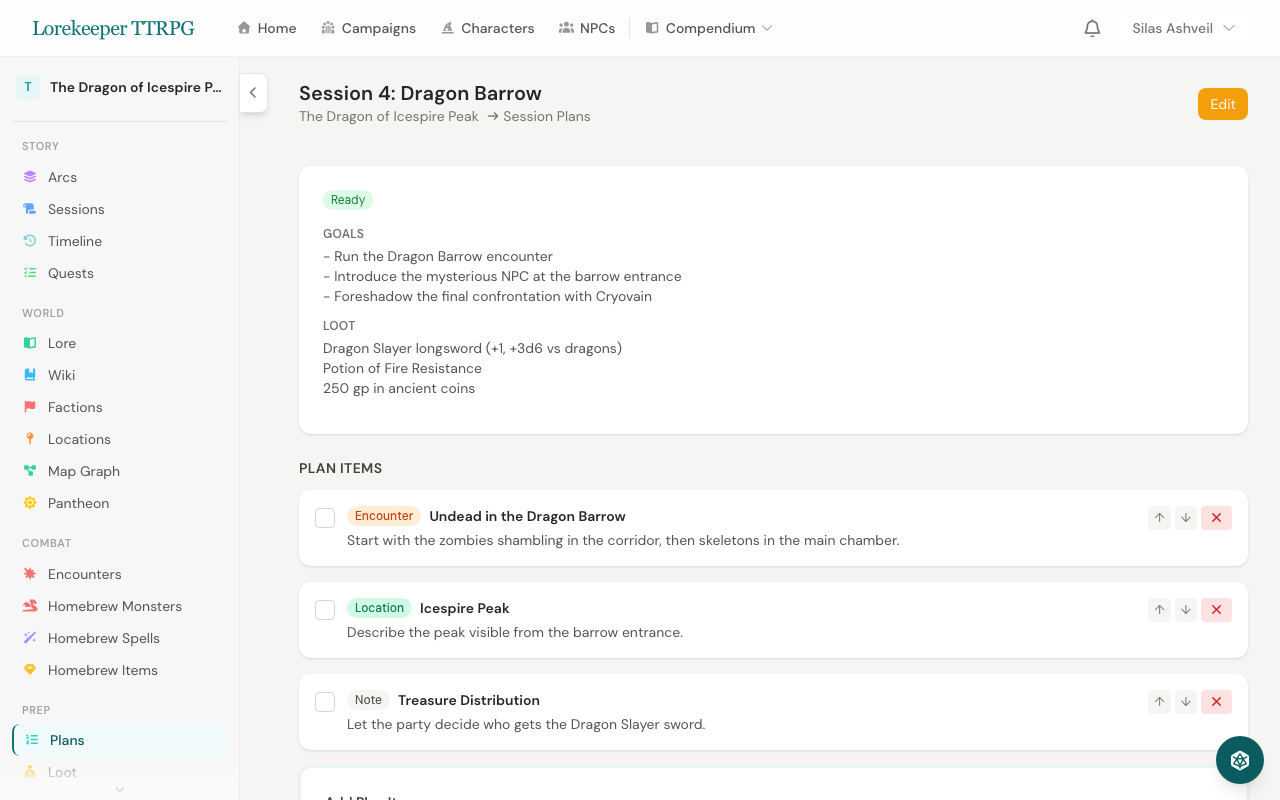
Adding Plan Items
Each plan item represents something you want to cover during the session. Add items using the form at the bottom of the planner:
Quick-Add from Campaign Data
Use the dropdown selectors to quickly add items from your campaign:
- Encounters — select a planned encounter to add
- NPCs — select an NPC the party will interact with
- Locations — select a location the party will visit
Selecting from these dropdowns auto-fills the item type and title.
Manual Items
Set the Type (Note, Encounter, NPC, or Location), enter a Title, and add optional Notes for additional context.
NPC Preview Cards
When an NPC is linked to a plan item, a preview card appears below the item showing the NPC's portrait, species, occupation, alignment, personality, and appearance. This gives you key roleplay details at a glance during prep — no need to navigate to the NPC's full page.
Preview cards are hidden for completed items to reduce visual clutter.
Tracking Progress
- Click the checkbox next to any item to mark it as complete
- Completed items appear struck through and dimmed
- Use the arrow buttons to reorder items
- Click X to remove an item
Quick Plan Creator
The fastest way to create a new session plan is from the Quick Reference Panel:
- Open the Quick Reference Panel (d20 icon, bottom right) on any campaign page
- Go to the Prep tab
- Click Quick Plan
- A title is auto-generated (e.g., "Session 6 Prep") based on your highest session number — edit it if you like
- Auto-suggested items appear from your campaign data:
- Active Quests — open and in-progress quests, sorted by priority
- Planned Encounters — encounters with "planned" status
- Recent NPCs — your most recently updated NPCs
- Recent Locations — your most recently updated locations
- Toggle items on/off with checkboxes, or use All / None to bulk-select
- Optionally type a quick note item at the bottom
- Click Create Plan — the plan is created instantly and switches to the checklist view
This lets you go from zero to a full prep checklist in seconds.
Quick Reference Checklist
When you're on any campaign page, the Quick Reference Panel (d20 icon, bottom right) includes a Prep tab. This shows your most recent session plan as a floating checklist you can check off during play without leaving the current page.
The checklist includes a progress bar showing how many items you've completed. Click Open full planner at the bottom to go to the full Session Planner page for reordering, adding more items, and NPC preview cards.
You can also access the Checklists page from the campaign "More" menu to see all your session plans in a consolidated checklist view.
Was this article helpful?
Thanks for the feedback!